These guidelines simply help ensure it prints clearly and looks its best.
Before You Begin
Before starting, please take a moment to review the points below. These simple steps help ensure each child’s artwork prints clearly and looks its best.
Use a glue stick only
Please do not use staples, paperclips, tape or sticky tack
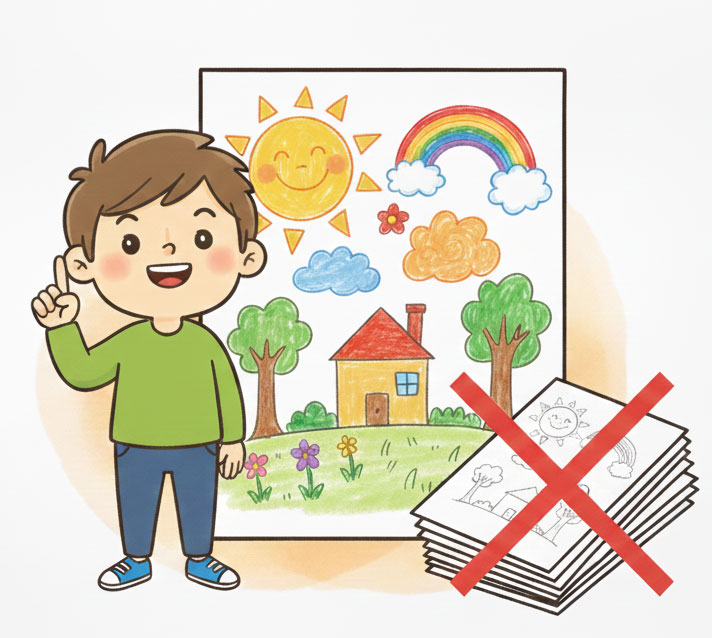
One artwork per template
Each child should submit only one completed piece of artwork per template.
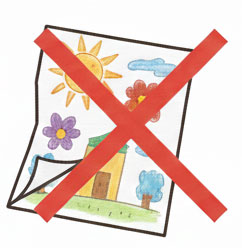
Keep artwork flat and damage-free
Avoid folding, creasing or bending the paper, as marks and folds may appear when printed.
Attach artwork neatly
Ensure artwork is firmly secured so nothing lifts or comes loose during handling.
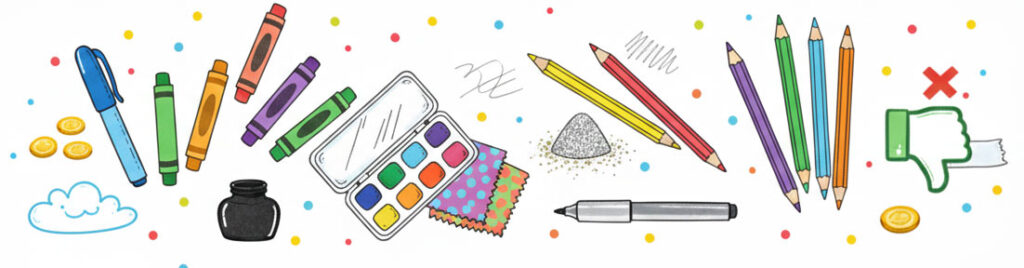
Choosing the Right Materials
Using the right materials helps children’s artwork scan and print clearly. The lists below show what works best and what to avoid for the best final results.
RECOMMENDED MATERIALS
Felt-tip pens
Markers
Crayons
Paints (poster paint, acrylic, or well-dried watercolour)
Pastels (chalk or oil)
Black pen or ink for outlines
Collage using paper or fabric (ensure all pieces are firmly glued)
MATERIALS TO AVOID
Coloured pencils
Very light pencil or fine-line drawings
Metallic pens or paint
Glitter
Glossy photo paper
Reflective or shiny materials
Sellotape or transparent film
Creating Artwork That Prints Well
These simple tips help children create artwork that prints clearly and looks great on the finished products. Artwork does not need to be perfect — clarity and confidence matter most.
WHAT WORKS BEST
Bold lines and clear shapes
Simple, confident drawings
Large drawings
Chunky lettering for names and text
Clear, easy-to-read writing
Bright colours on light backgrounds
Dark colours on light backgrounds for strong contrast
One main idea or image per page
WHAT TO AVOID
Very small or detailed drawings
Faint or lightly sketched lines
Thin or delicate lettering
Text written too small to read clearly
Very busy or overcrowded designs
Using colours that blend into the background
Using the Page & Layout Tips
How artwork is positioned on the page is just as important as how it is drawn. Following these simple layout tips helps ensure no important details are lost during printing.
BEST PRACTICE
Fill the page as much as possible
Draw large and confidently, not small
Keep artwork within the template box
Leave a small margin around the edges
Place names and key details well inside the page
Keep artwork flat and centred on the template
THINGS TO AVOID
Drawing too close to the edges
Very small artwork in the centre of the page
Writing names or details right at the border
Folding or creasing the paper
Artwork that runs outside the template area
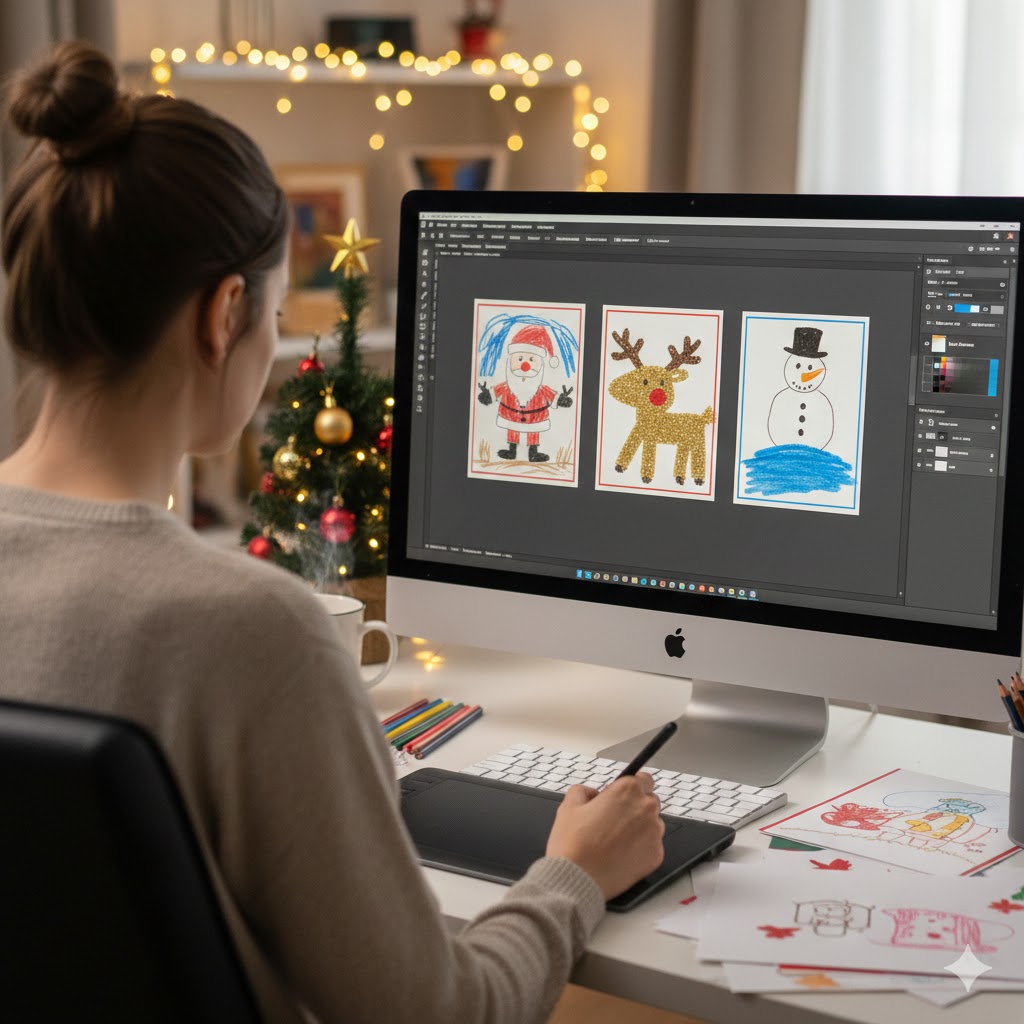
What Happens After Submission?
Once artwork is received, our team carefully prepares each piece for print. We check every artwork individually, clean up scans or photos where needed, and adjust clarity and contrast to ensure the best possible print results. Each design is then correctly sized and positioned for the chosen products.
Ready to send your artwork?
Once your class artwork is complete, simply email or post it to us. If you’re unsure about anything, we’re happy to check your artwork before printing.